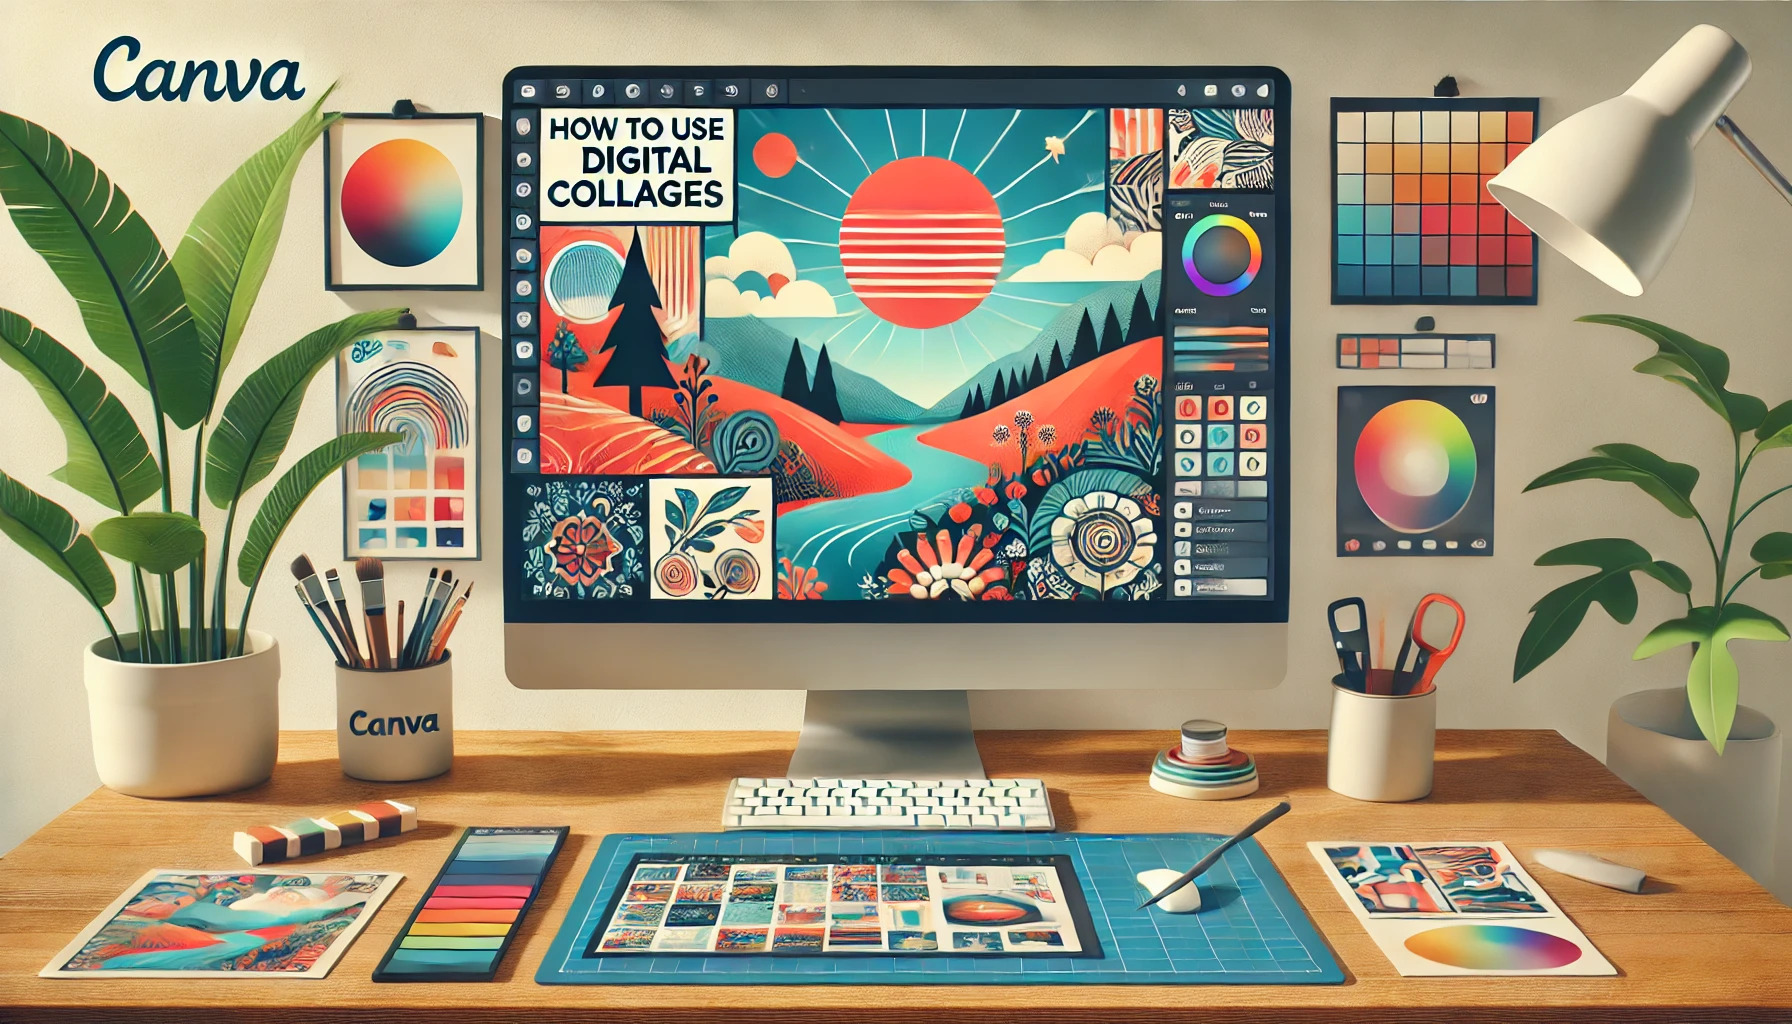
Creating beautiful digital collages is easier than ever with Canva. This beginner’s tutorial will guide users through the steps to design eye-catching collages using Canva’s simple tools and vast library of resources. Whether for personal projects or social media, anyone can learn to express their creativity in a vibrant way.
Canva offers many features that make designing fun, even for those new to graphic design. Users can access millions of stock images, fonts, and templates to bring their ideas to life. With just a few clicks, anyone can create unique designs that stand out.
By the end of this tutorial, readers will feel confident in their ability to craft stunning collages. Each section will provide practical tips to ensure success.
Getting Started with Canva
Before diving into creating digital collages, it’s essential to get familiar with Canva’s basic setup. Understanding how to create an account, navigate the dashboard, and explore the template library will make the design process much smoother.
Creating an Account
To start using Canva, he or she needs to create an account. This can be done by visiting the Canva website and clicking on the “Sign Up” button. Users can sign up using an email address, Google account, or Facebook account for convenience. After entering the required information, a confirmation email may be sent, which must be verified to activate the account. Once registered, users can easily log in and start creating. Those who prefer to explore before committing can also use Canva as a guest, though some features may be limited.
Understanding the Canva Dashboard
After logging in, the first thing a user sees is the Canva dashboard. This is the central hub for all design activities. At the top, the navigation menu includes options like “Home,” which takes users back to the main screen. The sidebar contains categories like “Templates” and “Projects.” Users can quickly access recent designs or start a new project from here. Each section is user-friendly, allowing for smooth transitions between different areas. Tooltips provide additional guidance, helping new users understand what each option does.
Navigating the Template Library
The template library is one of Canva’s standout features. He or she can browse thousands of templates for various projects, including social media posts and presentations. The templates are organized into categories like “Collages,” making it easier for users to find inspiration. To use a template, simply click on it to open in the design editor. From there, elements can be customized by changing colors, adding photos, or inserting text. Canva provides filtering options to refine searches further, such as “Free” or “Pro” and different styles, ensuring the perfect fit for any project.
Designing Your First Digital Collage
Creating a digital collage in Canva can be a fun and easy process. By knowing how to select templates, add images, and manage layers, anyone can create stunning visual stories.
Selecting the Right Template
Choosing the right template is the first step to a great collage. Canva offers a wide variety of templates, perfect for any occasion. Users can browse categories such as celebrations, travel, or social media, ensuring they find a style that matches their vision.
Once a template is selected, it can be customized. Users can change colors, fonts, and layouts, making it easy to fit personal tastes. Remember, the right template sets the tone for the entire collage, so spending time on this step pays off.
Adding Images and Elements
After selecting a template, it’s time to add images and elements. Upload personal photos directly from a device or use Canva’s library of stock images. Using a mix of personal and professional images can create a unique look.
Users can drag and drop images into the template and resize or crop them as needed. Adding elements like stickers or shapes can enhance the design. It’s important to keep a balance, so the collage doesn’t look too cluttered. A clean and engaging visual will attract more interest.
Working with Layers and Backgrounds
Layers play a crucial role in designing collages. Users can adjust the order of images and elements by moving layers up or down. This allows for creative combinations, like placing a photo behind a colorful shape.
Backgrounds also add depth. Users can change the background color or add textures to suit their theme. A well-chosen background enhances the overall look without overwhelming the focal images.
Getting comfortable with layers and backgrounds helps refine the collage, turning a simple design into a striking piece of art.
Customizing Your Collage
Customizing a collage in Canva allows for personal expression and creativity. Users can easily modify text, colors, and shapes to make their collages truly unique.
Editing Text and Fonts
To add text in Canva, she can click on the “Text” option in the left sidebar. Here, different text types are available, including headings, subheadings, and body text. Once the text box is added, it can be moved and resized as needed.
Selecting fonts is simple. Users can choose from a variety of font styles. To maintain cohesion in the design, it’s often best to stick with one or two fonts. Adjusting the font size, color, and spacing is also easy, allowing complete control over how the text appears on the collage.
Adjusting Colors and Filters
Canva provides various color options to enhance a collage’s look. Users can adjust background colors by selecting the box and choosing a color from the palette. She can also add gradients for a more dynamic feel.
Applying filters to photos is another neat feature. By clicking on any image, she can select “Filters” to choose different effects, making photos pop. Users should experiment with different combinations of colors and filters to find the best match for their overall theme.
Inserting Icons and Shapes
Icons and shapes can add a fun element to collages. Users can find them in the “Elements” tab on the left sidebar. She can simply search for specific icons or browse through categories.
Once she finds the right icon or shape, it is easy to resize, rotate, and change colors. It’s helpful to use a consistent style for icons to maintain a polished appearance. Combining these elements effectively can enhance the visual appeal of the collage even more.
Enhancing with Advanced Features
Canva provides some exciting advanced features that can take digital collages to the next level. These tools help users add motion, maintain brand consistency, and collaborate more effectively with others.
Animating Graphics
Animating graphics in Canva can bring collages to life. Users can select any element, such as images or text, and apply animation effects.
There are several options available, including fade, breathe, and pan. Each animation adds a unique touch, making designs more engaging.
To animate, simply select the element and click on the “Animate” button in the toolbar. From there, users can preview animations and choose the one that best fits their design.
This feature helps create eye-catching presentations, perfect for social media or personal projects.
Using Brand Kits for Consistency
A Brand Kit in Canva allows users to keep their designs consistent. With this feature, they can upload logos, choose color palettes, and set fonts specific to their brand.
Once a Brand Kit is established, it can be applied across all projects. This is especially useful for businesses or influencers needing a cohesive look.
To create a Brand Kit, users can navigate to the “Brand” section in the main menu. Here, they can easily manage and apply their design elements whenever creating new collages or graphics.
Collaborating with Team Members
Canva supports teamwork through its collaboration features. Users can invite team members to collaborate on projects in real time.
This is done by clicking the “Share” button and entering email addresses. Team members can comment on designs and make adjustments instantly.
This feature is beneficial for groups working on collective projects, as it streamlines feedback and ensures everyone stays updated. Collaborating within Canva tends to enhance creativity and helps in developing more refined designs.
Finalizing and Sharing Your Collage
Before sharing a collage, it’s important to ensure that it looks just right. This includes reviewing the design, making any necessary edits, and choosing the right format for sharing. The following steps will guide through the final touches and sharing options available in Canva.
Previewing and Making Final Edits
Once the collage is complete, the next step is to preview it. This allows for a closer look at the overall design and layout. It’s helpful to check for alignment and spacing to ensure everything looks neat.
If anything needs changing, Canva offers tools for easy edits. Users can adjust colors, add or remove images, and even tweak text. Taking time to look over every detail will create a polished final product.
Using the grid view can also help spot any inconsistencies that may have been missed. Once satisfied, it’s time to move on to downloading.
Downloading in Different Formats
Canva provides multiple options for downloading a collage. Users can choose from formats like PNG, JPG, or PDF. Each format has its benefits.
- PNG: Ideal for high-quality images.
- JPG: Great for smaller file sizes.
- PDF: Perfect for printing.
Before downloading, it’s useful to select the appropriate quality settings. This helps maintain the best appearance whether shared digitally or in print.
Canva also allows users to resize the collage for various uses, such as social media or printing. This flexibility makes it easy to use the collage across different platforms.
Sharing on Social Media
Sharing directly from Canva is simple and convenient. Users can connect their social media accounts to upload their collages instantly.
Each platform may have different requirements. For instance, Instagram favors square images, while Facebook often uses landscape.
Before posting, Canva allows users to add captions or text overlays. This can help draw attention to the collage.
Ensuring the collage fits the style and format of the chosen platform will enhance its impact. With just a few clicks, users can showcase their creative work to friends and followers.
Maintaining Your Designs
Keeping digital designs organized and up to date is key for efficient use of Canva. This section covers how to manage projects and ensure that any published designs stay fresh and relevant.
Organizing Your Canva Projects
Organizing projects in Canva helps users find their designs quickly. They can create folders for different topics, like personal, work, or events.
Canva allows users to name folders and projects clearly. This can include names that describe the content or purpose, like “Holiday Photos” or “Social Media Posts.”
Using labels and color codes also adds an extra layer of organization. For instance, green labels can signify completed tasks, while red could indicate designs that need attention.
Staying organized means less time searching for the right project and more time creating. A clear layout enhances productivity and creativity.
Updating Published Designs
Published designs should reflect current information and trends. Keeping them updated ensures they remain effective and engaging.
Users can easily edit their designs in Canva even after publication. They simply need to access the original project, make the necessary changes, and then save or republish.
It’s helpful to review designs regularly. Checking for outdated graphics, text, or links improves the overall quality.
Users can also take advantage of seasonal updates. For example, designs can be refreshed with new colors or themes for holidays or special events. This keeps the content fresh and relevant to the audience.

