Textures can transform a digital collage from ordinary to extraordinary. By incorporating various textures, artists can add depth and visual interest to their work. The right textures can create a unique atmosphere that evokes emotions and tells a story.
When using textures, it’s important to consider how they interact with other elements in the collage. Balancing different materials enhances the overall composition, making it engaging and cohesive. Experimenting with various tools and techniques can also lead to unexpected and exciting results.
Artists should focus on finding textures that complement their theme and message. Using resources like scanned objects, fabrics, or digital patterns can bridge the gap between the physical and digital worlds. This approach not only broadens creative possibilities but also enriches the artistic experience.
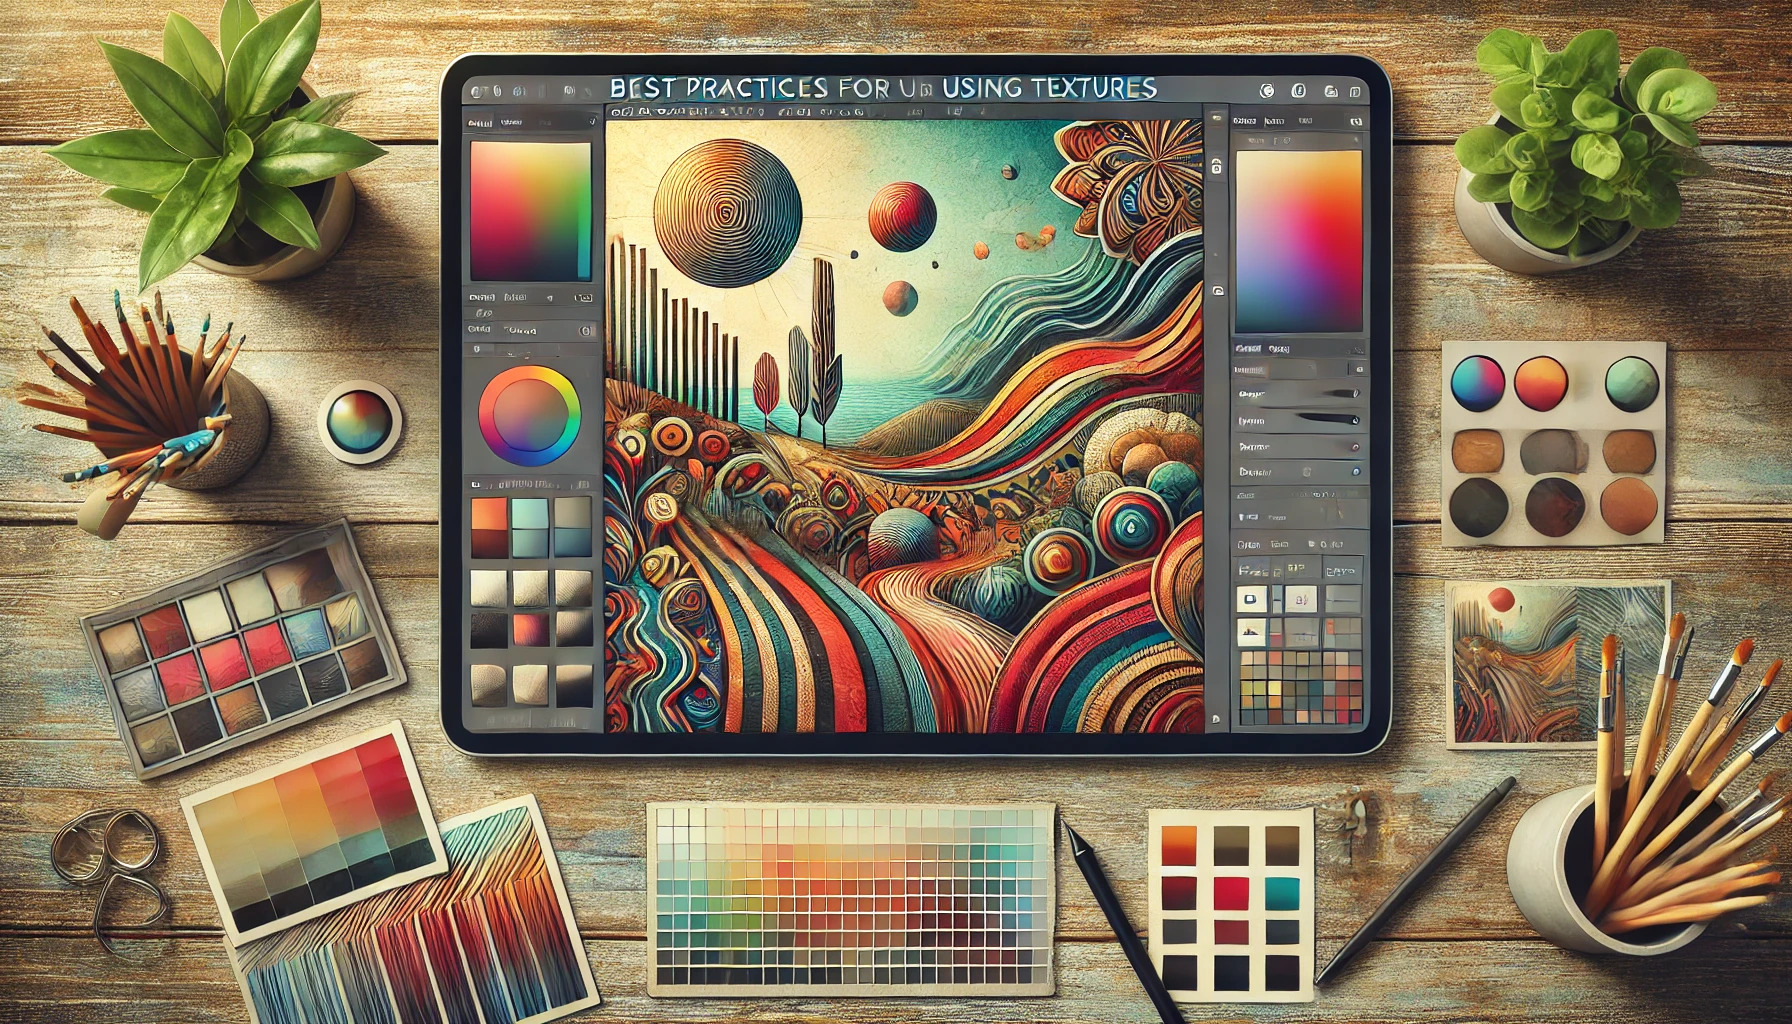
Understanding Textures in Digital Collage
Textures play a vital role in digital collage, enhancing depth and interest in compositions. They can transform a flat design into something visually stunning through various types and characteristics.
Texture Types and Characteristics
Different types of textures can be utilized in digital collages, ranging from natural to abstract. Natural textures include elements like wood, stone, and fabric. They add an organic feel, grounding the artwork in reality.
Abstract textures can be created using brushes or effects in software. These textures often feature bold shapes and colors, offering a more dynamic look.
Smooth vs. Rough: Smooth textures provide a clean appearance, while rough textures create contrast. Using both types strategically can provide balance in a composition. When choosing textures, consider their color, scale, and transparency, as these characteristics influence the overall harmony of the artwork.
Visual Impact of Texture
Textures significantly affect how viewers perceive digital collages. They create depth and can guide the viewer’s eye throughout the piece.
When applied correctly, textures can evoke emotions or convey a message. For instance, a rough texture might suggest toughness, while a smooth texture could imply elegance.
Textures also help to highlight focal points in a collage. By contrasting textures, artists can direct attention where it’s needed most.
Incorporating textures like stains, patterns, or layered materials can add to the artistic narrative, making the collage more engaging. Therefore, careful selection and application of textures enhance both visual interest and emotional resonance.
Sourcing and Creating Textures
Finding and making textures is an important step in creating digital collages. There are different methods to legally source textures, capture them through photography, or even create them digitally. Each method offers unique benefits for enhancing artistic projects.
Legally Sourcing Textures
When sourcing textures, it’s crucial to find them legally. Many websites offer free or paid texture packs that can be used in digital design. Sites like Envato Elements or Adobe Stock provide a range of high-quality textures.
Checking the licensing agreement is essential. Some textures are free for personal use but may require a license for commercial projects. It’s also wise to explore Creative Commons sites where artists share their work. This can be a treasure trove for unique textures that add character to any collage.
Photographing Textures
Photographing textures is a great way to get custom images. A simple smartphone camera can capture interesting details. Look for surfaces like tree bark, fabric, or walls for unique looks.
When taking photos, pay attention to light conditions. Natural light works best to avoid harsh shadows. Experimenting with angles can also highlight different features. Using a macro lens allows for capturing smaller patterns, providing a rich resource for designers.
Creating Textures Digitally
Creating textures digitally can be a fun process. Software like Photoshop or GIMP offers tools to design custom textures from scratch. Using brushes and filters, an artist can simulate fabric, wood, or even abstract effects.
Layering different shapes and colors can create depth. It’s also possible to adjust opacity to give textures a more realistic feel. With practice, designing unique textures can enhance digital collages, making them stand out.
Preparing Textures for Use
Preparing textures properly is essential for creating appealing digital collages. This process involves cleaning and retouching textures, as well as ensuring they are color balanced and adjusted for the best results.
Cleaning and Retouching
When working with textures, cleaning is the first step. This means removing any unwanted marks, scratches, or blemishes that attention may be drawn to. Programs like Photoshop are great for this task.
Tools to use:
- Clone Stamp Tool: Helps erase small imperfections.
- Healing Brush Tool: Perfect for retouching larger areas by blending textures.
After cleaning, consider retouching the texture to enhance its visual appeal. Adjusting brightness, contrast, or sharpness can make a significant difference. A clear, clean texture will improve the overall quality of the collage.
Color Correction and Adjustment
Color correction is crucial. Textures often come with varying hues that might not fit well with the intended color scheme of the collage.
Steps for adjustment:
- Use Color Balance: This tool helps shift colors to match your design.
- Adjust Saturation: Bring down overly vibrant colors or enhance dull ones.
Using adjustment layers allows for flexibility. This means changes can be made without altering the original texture. A well-balanced color palette ensures that textures blend seamlessly, enhancing the final collage’s appeal.
Effective Texture Integration
Integrating textures effectively can make a digital collage stand out. This involves knowing how to blend layers, adjust transparency, and create depth. Each technique can enhance the visual appeal and engagement of the design.
Layer Blending Modes
Layer blending modes are powerful tools that can transform how textures interact with other layers. By changing a texture’s blending mode, a designer can create various effects. Common modes include Multiply, Overlay, and Screen.
- Multiply darkens the image, perfect for adding shadow or depth.
- Overlay combines Multiply and Screen for a contrast boost.
- Screen lightens areas, great for soft highlights.
Experimenting with these modes can lead to unique looks. It’s important to test different blending modes to see which complements the overall composition best.
Transparency and Opacity Techniques
Adjusting transparency and opacity can create subtlety in a collage. By lowering a layer’s opacity, a designer can let the background show through. This technique helps in creating softer transitions between elements.
- Use a high opacity for main textures to keep them prominent.
- Apply low opacity for background textures to add interest without distraction.
Layering textures with differing transparencies can also enhance visual hierarchy. This allows for focal points while maintaining a cohesive feel throughout the design.
Creating Depth with Textures
Creating depth is essential for a dynamic appearance in a collage. Using multiple textures with varying sizes and placements helps achieve this. Designers can employ techniques such as layering large textures in the background and smaller ones in the foreground.
Adding shadows can further amplify the depth effect. For instance, a texture that resembles fabric might cast a shadow on a flat surface, making it look more three-dimensional.
Mixing textures like paper, fabric, or nature elements can also bring richness. This not only draws the viewer’s eye but invites them to explore the piece more closely.
Technical Considerations
When creating digital collages, technical aspects play a crucial role in achieving high quality results. Understanding resolution, file size, format, and compression can greatly enhance the final artwork.
Resolution and File Size
Resolution refers to the amount of detail an image holds, often measured in DPI (dots per inch). Higher DPI settings, like 300, yield sharper images, which is essential for prints. For digital displays, 72 DPI is acceptable.
File size is another important factor. Large files can be cumbersome and slow down workflows. Using a balance of size and quality is key. Combining high-resolution images with effective compression allows artists to maintain quality without excessive file sizes.
Format and Compression
Choosing the right file format is vital for preserving textures in digital collages. Common formats include JPEG, PNG, and TIFF.
- JPEG handles complex images well but compresses files, sometimes losing detail.
- PNG supports transparency and retains quality, making it suitable for overlays.
- TIFF provides the best quality but results in large file sizes.
Compression techniques help reduce file sizes while maintaining appearance. Lossless compression keeps all image data intact, while lossy compression reduces it for smaller sizes. Choosing the right method depends on the needs of the project.
Best Practices for Layer Management
Effective layer management helps enhance the quality of digital collages and makes the creative process smoother. Proper organization allows artists to find and manipulate layers quickly, saving time and effort during the design phase.
Naming and Organizing Layers
Naming layers clearly is essential in digital collage creation. When working with multiple elements, layers can quickly become confusing. Using descriptive names makes it easier for artists to locate specific layers when needed. For instance, naming layers as “Background,” “Text,” or “Image1” helps maintain clarity.
Organizing layers is equally important. Artists can reorder layers based on their importance or visual impact. Placing backgrounds at the bottom and foreground elements on top creates a natural flow. Color coding layers can also aid in organization, helping to identify specific groups at a glance.
Using Groups and Layer Comps
Grouping related layers together can simplify workspace and make navigation easier. For example, all text layers can be grouped under a single folder labeled “Text.” This allows for quick adjustments without searching through numerous individual layers.
Layer comps are another useful tool. These enable artists to create and save different versions of a collage within a single project. By having multiple layer compositions, it becomes easier to experiment with designs without losing earlier versions. This makes the creative process more flexible and efficient.
Finalizing the Collage
When finalizing a digital collage, attention to detail is crucial. The artist should focus on quality assurance checks and the appropriate export settings for different media. These steps ensure the final product looks great across various platforms.
Quality Assurance Checks
Before completing a collage, it is important to perform quality assurance checks to ensure everything appears as intended. The artist should zoom in to look for any pixelation or blurriness in images and textures.
Checking the alignment of layers can also help in maintaining the visual appeal of the collage. Misaligned elements can break the flow and overall impact.
Next, balancing colors and textures is vital. Utilizing tools to adjust brightness and contrast can enhance the finished piece. They should also confirm that all layers are correctly merged and saved, preventing any loss of work.
Exporting for Different Media
Exporting the collage for multiple media types is the next important step. Different platforms may require different file types and resolutions.
For web use, exporting as a JPEG or PNG at 72 DPI is standard. This format keeps file sizes manageable while maintaining quality.
For print, a higher resolution of 300 DPI is necessary. This ensures that the details in the collage remain sharp and clear. The artist should save the print version as a TIFF or high-quality PDF to preserve color accuracy.